Top Tips for Restoring 80s and 90s Gaming Systems
- Paul Lewis

- Mar 18
- 5 min read
The nostalgia of 80s and 90s gaming systems is undeniable. For many, these consoles represent a golden era of gaming, filled with pixelated adventures and unforgettable characters. However, as time marches on, these beloved systems can fall into disrepair. Whether you’re a seasoned collector or a newcomer to retro gaming, restoring these systems can be a rewarding experience. Here are some top tips to help you breathe new life into your vintage gaming consoles.
Understanding the Basics of Retro Gaming Systems
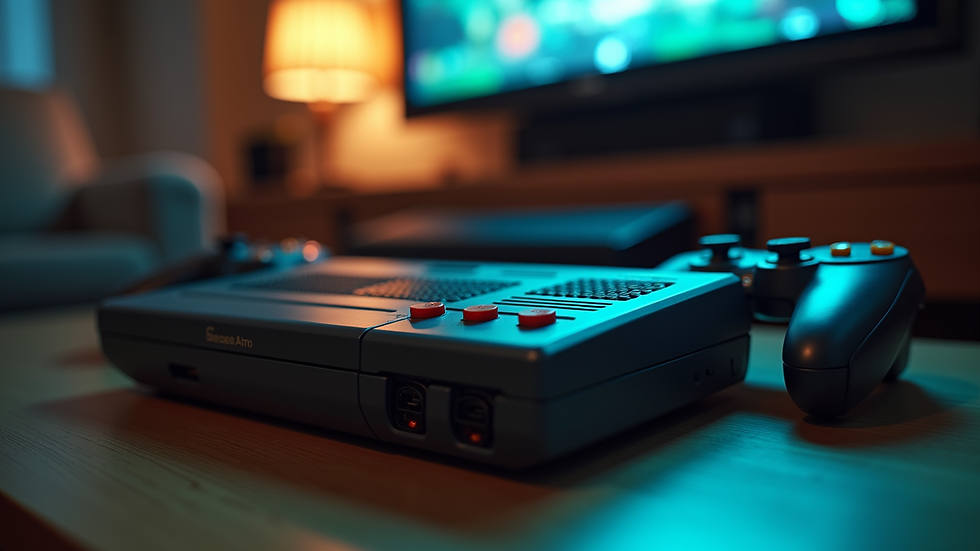
Before diving into restoration, it's essential to understand the different types of gaming systems from the 80s and 90s. Here are some of the most iconic consoles you might encounter:
Atari 2600: One of the first home consoles, known for its simple graphics and classic games like "Pong" and "Space Invaders."
Nintendo Entertainment System (NES): Launched in 1985, the NES brought iconic titles like "Super Mario Bros." and "The Legend of Zelda."
Sega Genesis: Known for its 16-bit graphics and games like "Sonic the Hedgehog," this console was a major player in the 90s.
Sony PlayStation: Released in 1994, the PlayStation revolutionized gaming with 3D graphics and a vast library of games.
Understanding the unique features and common issues of each system will help you in the restoration process.
Gathering the Right Tools
Restoration requires the right tools to ensure you can tackle any issue that arises. Here’s a list of essential tools for restoring vintage gaming systems:
Screwdrivers: A set of Phillips and flathead screwdrivers in various sizes will help you open up consoles.
Cleaning Supplies: Isopropyl alcohol, cotton swabs, and microfiber cloths are crucial for cleaning internal and external components.
Soldering Kit: If you encounter broken connections, a soldering kit will be invaluable for repairs.
Multimeter: This tool helps diagnose electrical issues by measuring voltage, current, and resistance.
Replacement Parts: Keep a stock of common replacement parts, such as capacitors, connectors, and power supplies.
Having these tools on hand will make the restoration process smoother and more efficient.
Cleaning and Maintenance
One of the first steps in restoring any gaming system is a thorough cleaning. Dust and grime can accumulate over the years, affecting performance. Here’s how to clean your console effectively:
External Cleaning:
Use a microfiber cloth dampened with isopropyl alcohol to wipe down the exterior.
Pay special attention to the vents and ports, as dust can block airflow and connections.
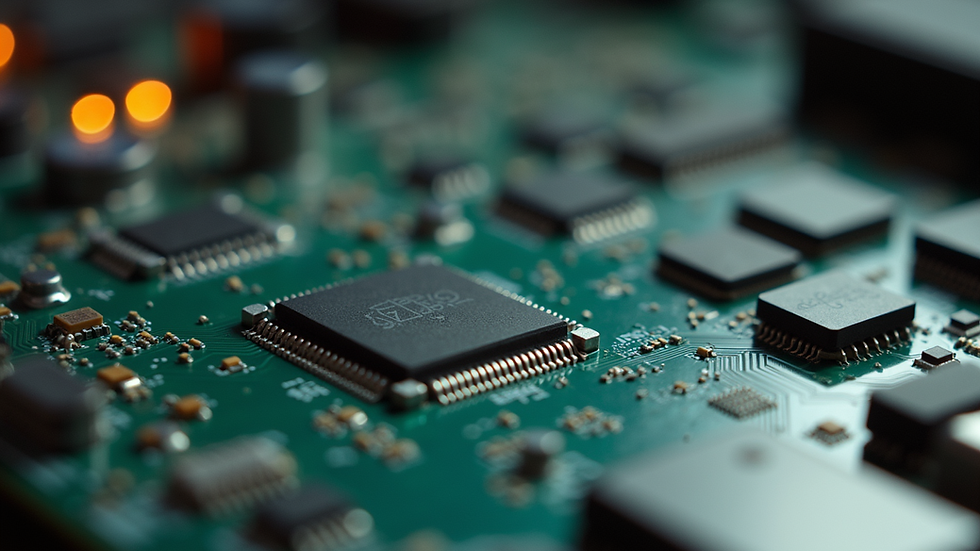
Internal Cleaning:
Open the console carefully using your screwdrivers.
Use compressed air to blow out dust from the internal components.
Clean the circuit board with a cotton swab dipped in isopropyl alcohol to remove any corrosion or residue.
Cartridge Cleaning:
For cartridge-based systems, clean the contacts with a cotton swab and isopropyl alcohol to ensure a good connection.
Regular cleaning can prevent many issues and extend the life of your gaming system.
Diagnosing Common Issues
As you restore your gaming system, you may encounter several common issues. Here’s how to diagnose and fix them:
No Power: If the console doesn’t power on, check the power supply and connections. Use a multimeter to test the voltage output.
No Video Signal: If the console powers on but displays no video, check the cables and connections. Try using a different TV or monitor to rule out display issues.
Glitches or Freezing: This can be caused by dirty contacts or failing components. Clean the cartridge contacts and check for any damaged capacitors on the circuit board.
By systematically diagnosing issues, you can often pinpoint the problem and find a solution.
Repairing and Replacing Components
Sometimes, cleaning isn’t enough, and you’ll need to repair or replace components. Here are some common repairs you might encounter:
Replacing Capacitors: Over time, capacitors can leak or fail. Use your soldering kit to remove old capacitors and replace them with new ones.
Fixing Power Connectors: If the power connector is damaged, you may need to replace it. Carefully desolder the old connector and solder in a new one.
Repairing Circuit Traces: If you find broken traces on the circuit board, you can repair them using wire to bridge the gap.
Always ensure you have the right replacement parts and follow safety precautions when working with electronics.
Testing Your Restored System
Once you’ve completed the restoration, it’s time to test your system. Here’s how to ensure everything is working correctly:
Connect to Power: Plug in your console and turn it on. Listen for any unusual sounds, such as buzzing or clicking.
Check Video Output: Connect the console to your TV and ensure you have a clear video signal.
Test Games: Insert a game cartridge and check for proper loading and gameplay. Look for any glitches or freezing.
If everything works smoothly, congratulations! You’ve successfully restored your vintage gaming system.
Preserving Your Collection
After restoring your gaming systems, it’s essential to preserve them for future enjoyment. Here are some tips for keeping your collection in top shape:
Store Properly: Keep consoles and games in a cool, dry place away from direct sunlight. Use protective cases for cartridges and discs.
Regular Maintenance: Periodically clean your systems and check for any signs of wear or damage.
Avoid Overuse: While it’s tempting to play your restored systems frequently, overuse can lead to wear and tear. Consider rotating your collection to give each system a break.
By taking these steps, you can ensure your gaming systems remain in excellent condition for years to come.
Joining the Retro Gaming Community
Restoring vintage gaming systems can be a solitary hobby, but it doesn’t have to be. Joining the retro gaming community can enhance your experience. Here are some ways to get involved:
Online Forums: Websites like Reddit and dedicated retro gaming forums are great places to share your experiences, ask questions, and learn from others.
Local Meetups: Look for local gaming clubs or events where you can meet fellow enthusiasts and share your passion.
Social Media Groups: Join groups focused on retro gaming to connect with others who share your interests.
Engaging with the community can provide valuable insights and make your restoration journey even more enjoyable.
Conclusion
Restoring 80s and 90s gaming systems is a fulfilling hobby that allows you to relive cherished memories while preserving a piece of gaming history. By understanding the basics, gathering the right tools, and following best practices for cleaning and repairs, you can successfully restore your vintage consoles. Remember to engage with the retro gaming community for support and inspiration. So, dust off that old console and start your restoration journey today!

Comments